Wednesday, October 19, 2011

Living Room Rebuild, Part 3

After the lighting was installed and the ceiling was still wide open, there were 2 very important issues we needed to solve.
1A. The joists in the ceiling were not level
2A. The upstair's bathroom shower creaked 


Here's how we fixed these two issues.  . .
1B: Before we ripped out the old plaster ceiling there was actually a spot where you could see a slight sag. So before we put the new ceiling back up we knew the joists needed to be fixed. No sense in putting a new coat of paint on an old broken car, right? 


Well, like most things, Justin was the go-to man for this project. But I'll try to explain how he corrected these issues the best I can from my limited understanding of the whole process. Some of the joists were thinner from top to bottom, so Justin added an extra board to thicken the whole joist up. And for the joists that were sagging down too far, he had to shave some of the extra wood off.
* I just made the whole process sound really easy, but it did take some preparation before Justin knew exactly how to correct the problem.


2B: In order to solve the creaking shower, we used Hilti Foam Sealant from Home Depot.
This photo is from the Home Depot website.


This was one of those few times when the whole trial-and-error approach actually worked for us. We knew that the shower was creaking because there were pockets of air under the floorboards, so we thought if we could fill the pockets in then the creaking might actually stop. Well, lo and behold, it actually did! It was surprisingly fairly simple and the steps were as follows:
A. Drive to Home Depot and pick up Hilti Foam Sealant
B. Justin aims can up in to the floorboards and sprays generously
C. Regan runs upstairs to the shower and walks around to see if it creaks
D. Small creaks show themselves 
E. Justin sprays some more foam
                                                                                                             F. Regan walks around in the shower again                                                                                                   and - - VICTORY!!


*Random note: Yes, I did just type in third-person. Don't judge.


Now that our ceiling was straight as a board and our shower was creak-less, we were ready to drywall. Our friend Jon and his cousin Aaron came over to help us put the drywall up. It took a few hours and basically consisted of 2 boys holding the drywall up while the other nailed it into place. I busied myself making lunch for the workers and taking pictures.


Measuring what size to cut the sheet of drywall


The whole process of actually getting the drywall up didn't take too long. The three guys knocked it out in a couple hours. But then came the mudding and sanding. I still have tremors about this part. For those of you that have never done this before let me warn you, the drywall dust gets everywhere. And I mean EVERYWHERE. We lived and breathed drywall dust for several days. Ick. I didn't take too many pictures because I didn't want the little dust particles to destroy my camera.


Jon showing Justin how to tape and mud

Justin taping and mudding

Several days later, once the ceiling was taped and mudded and sanded, we were left with this. Since we were ready to paint now - it was off to Lowes we went!


So has anyone else felt the horrors of drywall dust? How many showers did it take you to get it all out of your hair?

Tuesday, October 18, 2011

Living Room Rebuild, Part 2

Yesterday I left you hanging with this photo of a white wire trailing from Justin's arm.
That white wire is indeed the start of our installation of recessed lighting. When we bought the house the living room was dark and only had the ceiling fan/light as a source for lighting. Even worse the switch to turn the light on was on the other side of the room, so if you came home after 7pm you had to walk across in darkness and feel for the light switch. My fear of the darkness + my clumsy nature = a need for better lighting! 

Off to Lowe's we headed . . . We purchased 6 Halo 5" New Construction Airtight IC Recessed Light Housings and 6 Halo 5" White Open Trim Recessed Lights. Even though 6" is more typically seen in homes, we decided to purchase 5" lights because they aren't as much of a focal point visually and they still put out enough light.

Rather than hiring an electrician, Justin chose to install the lights himself. Before he began, he spent many nights researching and planning how to install these without electrocuting himself. Once he had his trusty notes handy, it was time to start the project!

If you're like me these notes might as well be in Chinese.

Side note: Our house was built in 1947 and the front walls are brick with plaster on top.

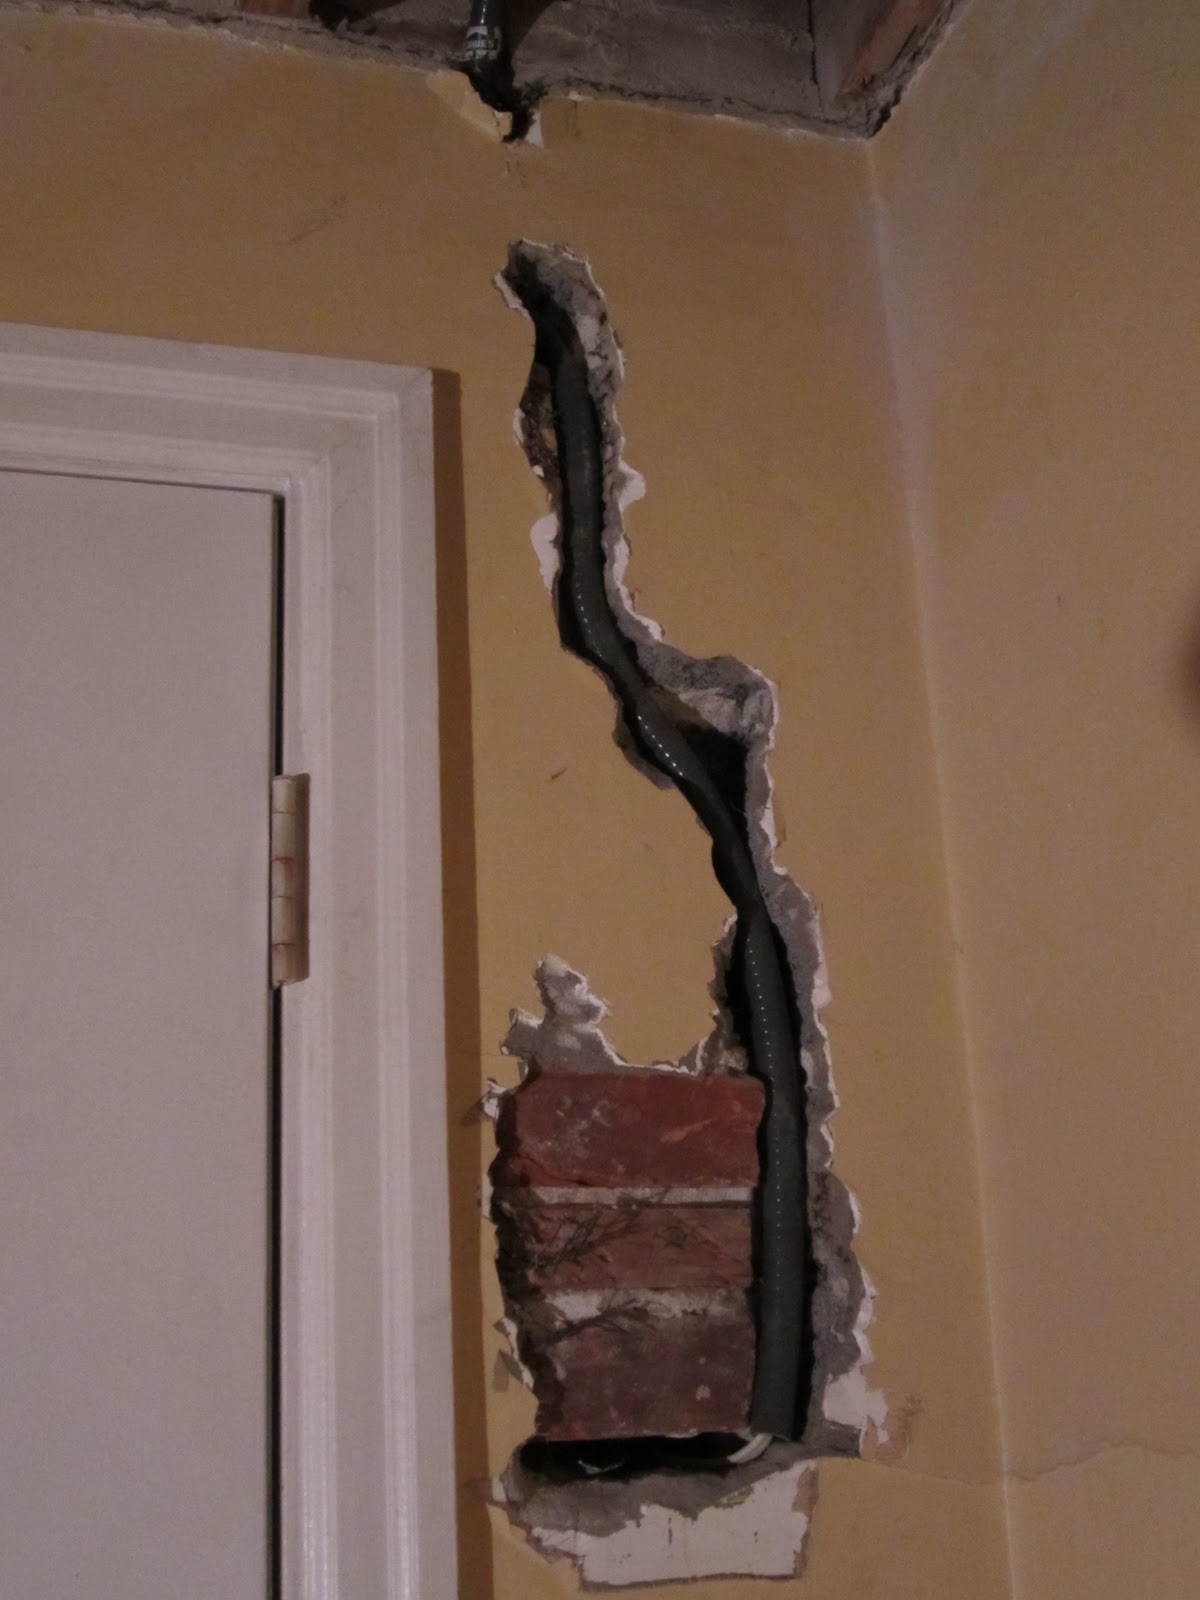
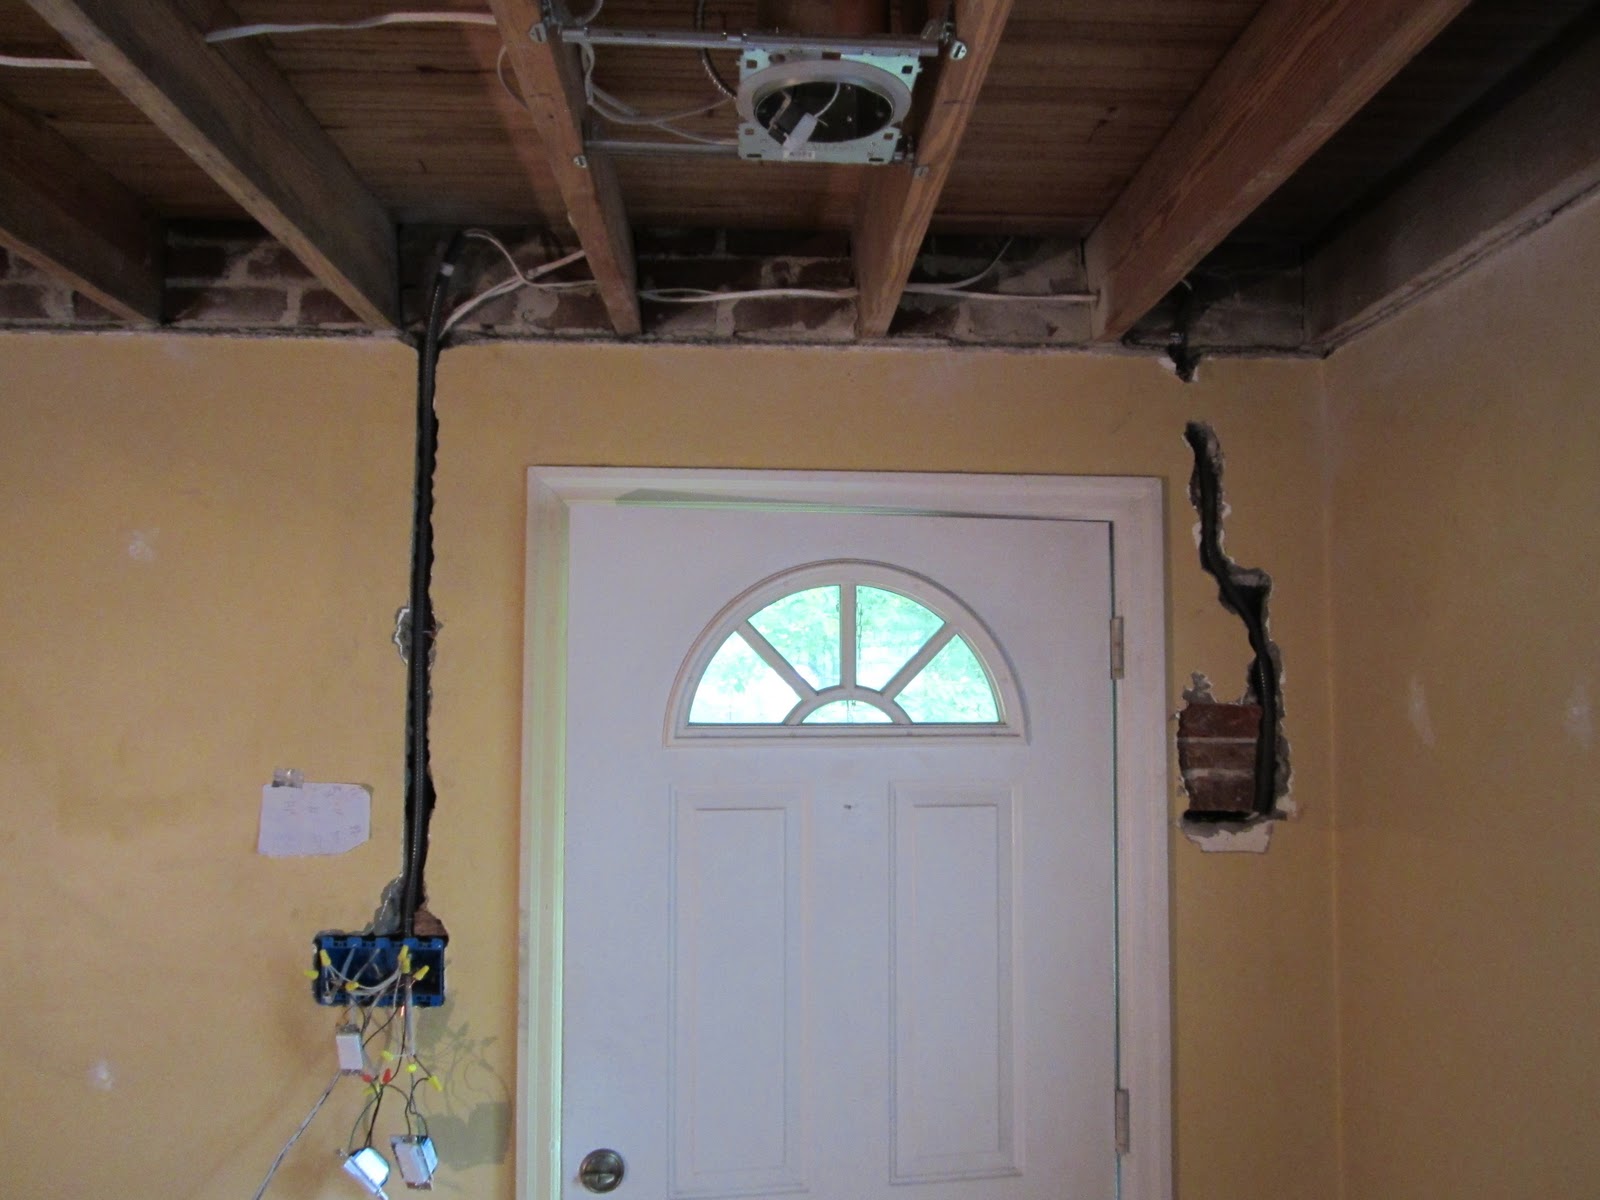
This created a minor issue. The wires were not easily accessible because the walls were tight masonry walls. In order to access the wires, Justin had to remove a portion of the wall.


If you think that looks like a mess you might want to shield your eyes from the next picture.
Hey, at least the trusty notes are taped above the disaster.
The light installation took us (I use that term loosely) a couple weeks. But, my dear sweet husband managed to figure it all out and he got all 6 housings up and wired! And I'm not even going to pretend that I had a clue as to what he was doing . . . because I didn't. 

Monday, October 17, 2011

Living Room Rebuild, Part 1

Five days after we moved in to our new house, Justin & I started to get the itch to demo. So on our first Friday in the house, we tore the living room ceiling down. We were so eager to get started we didn't even take any before pictures. The only photos we have of this room pre-rothenbergers are the tiny listing photos from the realtor.


Please excuse the fuzziness - I tried to enlarge them so you can see how truly terrible the ceilings were. These pictures don't do justice to the large water stains and cracked popcorn ceiling. Just imagine that if our ceiling was a celebrity it would be Charlie Sheen . . . yeah it was that big of a mess.

So after several hours of chopping away at the ceiling, we were left with a ginormous pile of plaster on the floor. Since we hadn't thought through this project, I started calling trash removal companies around 8pm on Friday night. The prices I was getting quoted for waste removal were around $400 - so after Justin kindly picked my jaw up off the ground we moved on to Plan B. Find someone with a truck (this is key) to haul the construction waste for us. And, drumroll please, here is where our dear friends Jeff & Jewel ran to our rescue!
These two are troopers -  they drove 2 hours to our house and hauled our ceiling away for us! Jeff & Jewel - if you're reading this, we owe you. Consider yourselves 2 Snickers bars the richer :) 

Then we were left with this . . .
PS: See that white wire trailing away from Justin's hands? More on that tomorrow . . .

Friday, October 14, 2011

Black Beauties!

This is our postage-size front porch. I dream about one day having a home with a giant wrap-around front porch, but for now this is ours and it's pure love.
Those chairs on the other hand were not receiving all that oozy Rothenberger love. Wanna check them out closer? Okay . . .
Even though the chairs were incredibly worn out, they still had good bones and were very comfortable. So, being the cheapskate that I am I decided not to replace them just yet. Enter Valspar!
We picked up some Valspar Paint for Plastic from Lowes. First, the chairs needed a good scrubbing.
Then we applied 3 thin and even coats of spray paint. It was starting to get dark out by the time the third coat rolled around, so resourceful Justin finished the chairs up by holding a flashlight in one hand and the spray paint in the other. I helped by taking (blurry) pictures! :)

After drying/curing for 72 hours we had some black beauties!!
In real life the finish on the chairs isn't as glossy. The combination of the rain/lighting just makes them appear this way.

A side shot . . .
And what we really love about these chairs is how they're lower to the ground. With the surrounding bushes/trees and railing we feel a sense of privacy in our little twin home :)